
Social media post scheduling can help you stay organized, maintain consistency, and boost engagement.
Buffer is a user-friendly tool designed to streamline social media management. It allows you to schedule, monitor, and analyze your posts across various platforms.
Here’s a quick guide on how to get started and make the most of Buffer’s scheduling features.
What is Buffer?
Buffer is a simple web application that lets you schedule social media postings across multiple prominent social networks. It’s essentially a stripped-down version of other popular social media management software, such as HootSuite, focusing mostly on post-scheduling.
Buffer can be integrated with the following social networks to post to them:
- Facebook (Pages and Groups only — not Profiles)
- X (formerly Twitter)
- Instagram (Business accounts only)
- LinkedIn (Profiles and Pages)
- Pinterest (available with a Premium Buffer subscription only)
Key Features of Buffer for Social Media Management
The following are the main features of Buffer:
Multi-Platform Scheduling
Buffer allows users to manage posts across various social media platforms, including Instagram, Facebook, Twitter, LinkedIn, and Pinterest.
This multi-platform scheduling feature lets you plan and post content without switching between accounts, saving time and simplifying your workflow.
Content Calendar for Visual Planning
Its content calendar provides a clear, visual overview of your social media schedule, making it easy to plan campaigns, track posting frequency, and ensure content variety.
In-Depth Analytics and Reporting
Buffer’s analytics tools help you measure your social media performance and refine your content strategy based on data.
Team Collaboration Tools
Buffer makes it easy for teams to collaborate on social media management, providing features that streamline workflows and enhance coordination.
How To Use Buffer in 6 Steps
Here’s a quick guide to help you get started and maximize Buffer’s social media post scheduling features.
Step 1: Set Up Your Buffer Account and Connect Social Profiles
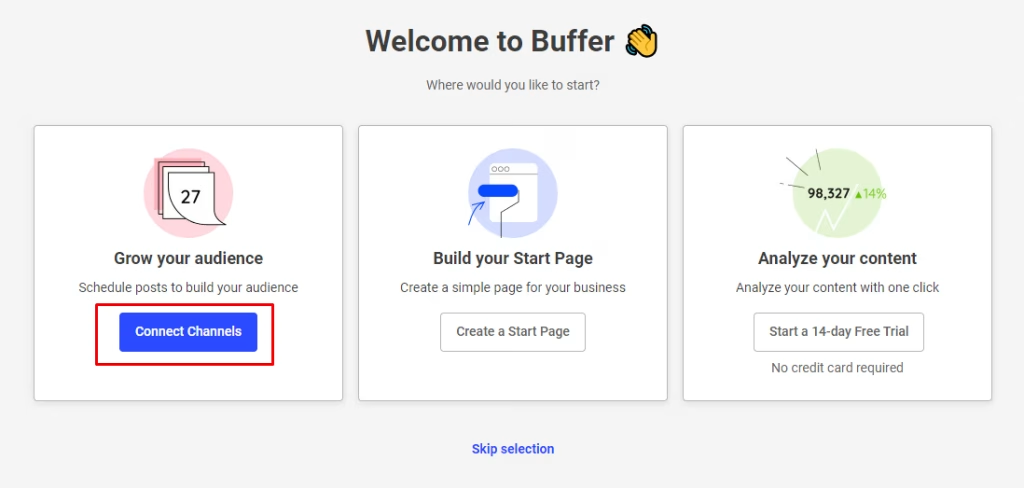
To start Buffer, create an account using your email and password. Then, click “Connect Channels” to link your social media accounts.
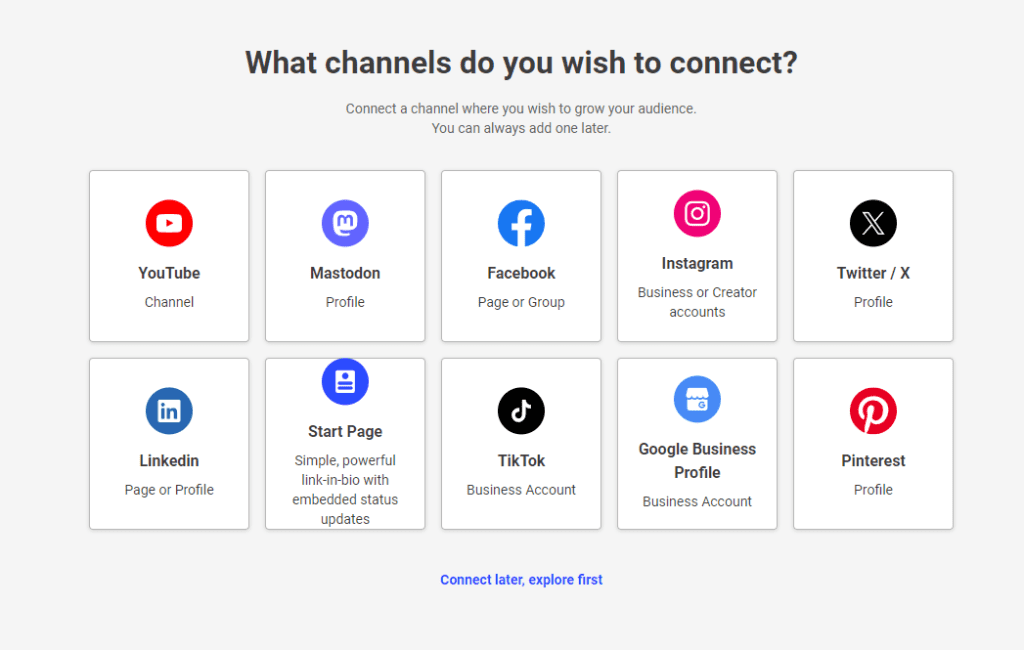
Buffer supports publishing on these platforms:
1. YouTube
2. Facebook (Pages/Groups)
3. Instagram (business or creator)
4. X (Twitter)
5. LinkedIn
6. TikTok (business)
7. Google Business
8. Pinterest
9. Buffer Start Pages
Shopify can also be connected for analytics (paid plans only).
After selecting a platform, authorize Buffer via OAuth. If you’re logged in, simply confirm; otherwise, sign in to your account and select specific pages or groups to connect.
Step 2: Set Up Your Publishing Schedule
Before scheduling your first posts on Buffer, set up queues for each social media account. These queues consist of time slots that align with your posting schedule. Buffer provides suggested times but allows you to customize them in the Settings tab.

In Settings, under the General sub-tab, you can adjust link shortening, add Google Analytics tracking, and shuffle up to 200 posts. For posting times, go to the Posting Schedule sub-tab, where you can:
1. Set your time zone.
2. Add a new posting time.
3. Edit existing posting times.
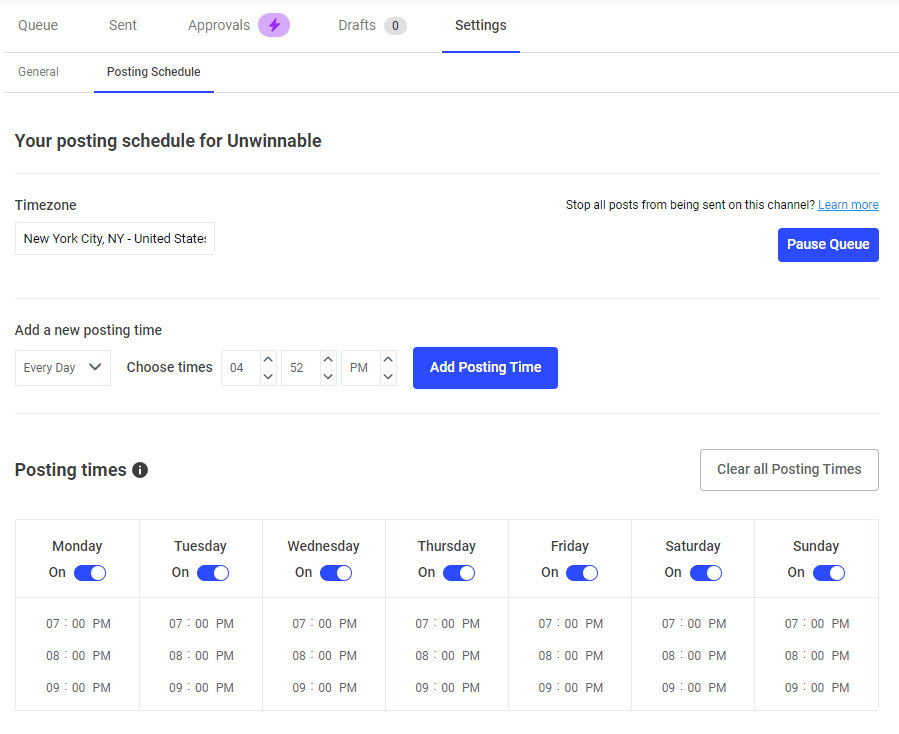
Use these options to fine-tune post timing for your audience or stick with Buffer’s suggestions if unsure.
You can also create posts directly in the queue by selecting the next available slot.
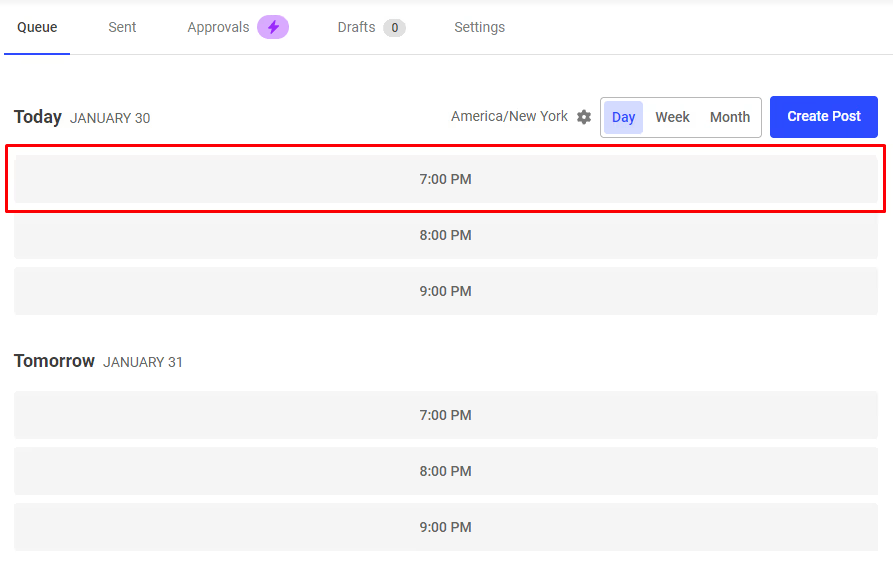
Note: Posts from non-account owners may appear in Draft for approval, which can be managed in the Awaiting Approval tab.
Step 3: Create and Customize Your Posts in Buffer
In the Publishing tab’s left sidebar, you’ll see all connected accounts, each with its logo for easy identification. To post, select an account and click “Create Post.”
In the post-creation window, you can:
1. Select additional accounts to share the post to (unselected accounts will appear grayed out).
2. Write your post by adding text, images, and links, which will be auto-shortened (hover to “Unshorten” if needed).
To tailor posts for each platform, click “Customize for each network” at the bottom right. You’ll see previews for each account and a warning icon if there are issues. Select an account to expand the editor and make platform-specific changes, such as adjusting for character limits or adding media.
If you’ve included a link, Buffer will auto-select the article’s featured image; click “Suggested media” to change it.
Once customized, publish immediately by selecting “Share Now” from the “Add to Queue” dropdown or save it as a draft for later.
Step 4: Schedule Posts in Your Queue
To maximize Buffer’s social media post scheduling, check the dropdown menu next to “Share Now” in the post composer. Here, you can:
- Select “Share Next” to add the post as the next in line.
- Choose “Schedule Post” to pick a specific date and time using the calendar, then click “Schedule”.
- Use “Add to Queue” to place the post in the next available slot.
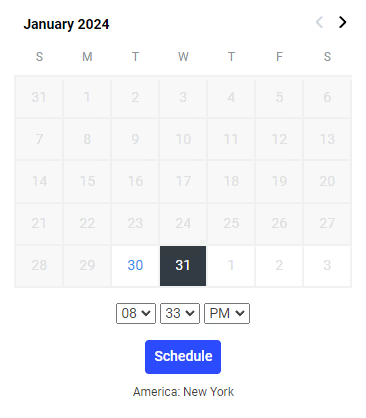
After scheduling, return to the Publishing tab to view all your scheduled posts in the Queue sub-tab.
Step 5: Manage Your Buffer Content and Schedule
Buffer’s Publishing tab offers three key features for managing your content:
- Create: Access a library of content ideas you can instantly convert to posts.
- Calendar: View your posts in a weekly or monthly calendar. Click any time slot to schedule a post.
- Tags: Organize content by creating and managing tags. Tag ideas, convert them to posts, and track tag-specific performance.
Step 6: Review Analytics and Refine Your Strategy
Buffer’s “Analytics” tab provides an overview of your social media performance:
- Totals: Total audience, impressions, and engagement for the past 7 days, with daily breakdowns.
- Recent Posts: Shows reach and engagement rates for your five latest posts.
- Social Channels Overview: Follower, impression, and engagement stats by channel.
- Recent Reports: Links to your latest performance reports.
On the left, select a channel to view detailed analytics, and filter by date in the top-right. Key sub-tabs include:
Overview: Major metrics and trends over time.
Posts/Stories: Metrics for posts/stories in the selected period, including engagement and hashtag performance.
Audience: Demographic data on gender, age, and location.
Answers: Insights on top-performing post times, types, and frequency.
Click “+” in any section to add it to a custom report, which you can access under Reports” in the left menu.
Conclusion
Buffer simplifies social media post scheduling with its intuitive features and powerful analytics. Following these steps can streamline your social media workflow, save time, and enhance your online presence.
Streamline Your Social Media Post Scheduling with Buffer!
Start scheduling your posts with Buffer to stay consistent, maximize reach, and grow your audience effectively. At PrimeOutsourcing, we ensure to use of advanced tools for social media post scheduling to streamline your social media management process.
Contact us today and enjoy stress-free social media management by working with us.
Read More: How Generative AI Creative Design Solutions Alter Businesses


