Harnessing the power of AI in design has become essential for both corporations and creatives. Freepik’s AI Image Generator is a simple method to produce appealing product designs to improve your brand’s image. This guide will show you how to use Freepik’s tools to create distinctive designs and apply them to realistic mockups. Along with the methods given above, the video instruction provides extra tips and visual direction to improve your experience.
On Freepik AI Image Generator – Text to Image AI Video Tutorial
Here’s a step-by-step summary of the Freepik AI Image Generator Video Tutorial:
| Steps Guide | What You Will Do |
|---|---|
| 1. Access Freepik’s AI Image Generator | Open the tool and log in to your account. |
| 2. Enter Your Prompt | Describe the image you want (e.g., “sunset over mountains”). |
| 3. Choose Art Styles | Select from available styles like realistic, cartoonish, abstract, and more. |
| 4. Refine Details | Select from available styles like realistic, cartoonish, abstract and more. |
| 5. Generate and Edit | Review the generated image. Use any available tools to tweak it if needed. |
| 6. Download | Save your image once satisfied. |
How to use Freepik AI to Generate Product Design
AI technologies such as Freepik’s Image Generator make it easier to bring your product design ideas to life than ever before. Here’s how you use it to generate visually appealing designs that can be smoothly applied to mockups.
Step 1: Start with a Clear Vision
First, outline your design concept to make the most of this generator. Determine your product’s purpose, target audience, and aesthetic. For example, for a sleek, eco-friendly coffee tumbler, consider keywords like “matte finish,” “earthy tones,” or “modern minimalist.”
Step 2: Write a Detailed Prompt
The key to getting a good result is a descriptive, clear prompt. Include specifics about your product’s look, colors, and style. Instead of just a “coffee tumbler,” try a “matte black coffee tumbler with minimalist logo, clean lines, and ergonomic handle.” This lets the AI generate an image that closely matches your vision.
Step 3: Choose a Style
This AI offers multiple style options. For product design, a realistic or minimalist style can work well to see how your concept might look in real life. Select a style that best complements your product vision.
Step 4: Experiment with Adjustments and Regenerations
After generating an initial image, review the details. If the design doesn’t fully match what you imagined, you can tweak the prompt or style settings slightly and regenerate. Play around with minor modifications to get your ideal design.
Step 5: Download Your Design
Once you’re happy with the result, download the image. You’re now ready to take your design to the next stage: mockups!
How to Apply Your Freepik AI Design to Freepik Product Mockup Generator
Once you’ve created an amazing layout using Freepik’s AI Image Generator, the next step is to bring it to life with a mockup. Mockups provide a realistic representation of how your design will seem in the real world, allowing you to visualize and convey your product more effectively.
In this section, we’ll walk you through the basic steps of putting your AI-generated product design into a Freepik mockup generator, guaranteeing that your product stands out in a competitive market.
Step 1: Choose Your Mockup
After creating your product design, visit Freepik’s mockup library and select a mockup file that suits your product—whether it’s packaging, apparel, or another type.
Step 2: Download and Open the Mockup
Mockups are often Photoshop files (.PSD). Open your chosen file in Photoshop or another software that supports layers.
Step 3: Locate the Editable Layer
Look for a layer named something like “Replace Image” or “Your Design Here.” This is where you’ll insert your custom design.
Step 4: Insert and Resize Your Design
Place your AI-generated design onto this layer, scaling and positioning it to fit naturally within the mockup.
Step 5: Adjust for Realism
Modify the blending mode or opacity as needed, adjusting shadows, highlights, and colors to integrate your product design with the mockup.
Step 6: Export Your Mockup
Once satisfied, export the final image. This ready-to-share mockup is perfect for showcasing your product!
Product Design Examples Generated by Freepik AI and Mockup
Cartoon Design:
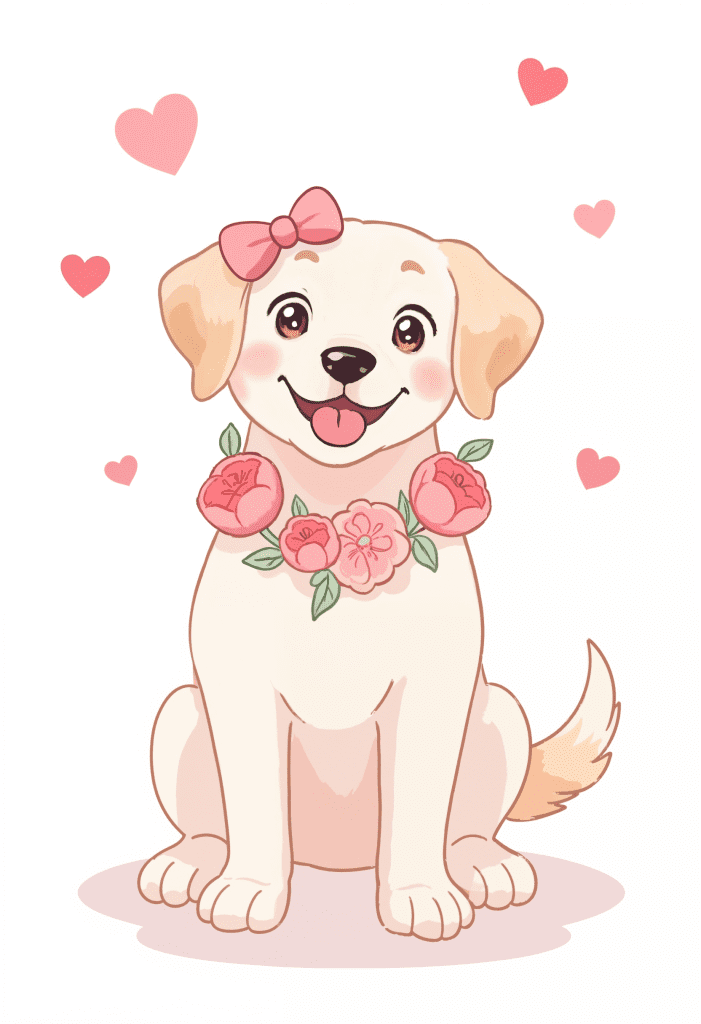
Text Prompt: A cute happy girl white Labrador retriever adorned with a pink ribbon on her head and a floral collar, set against a clean white background and floating little hearts.
Mode: Mystic
Style: #sonnyanime
Effects: #pastel
Size: 2:3 Portrait
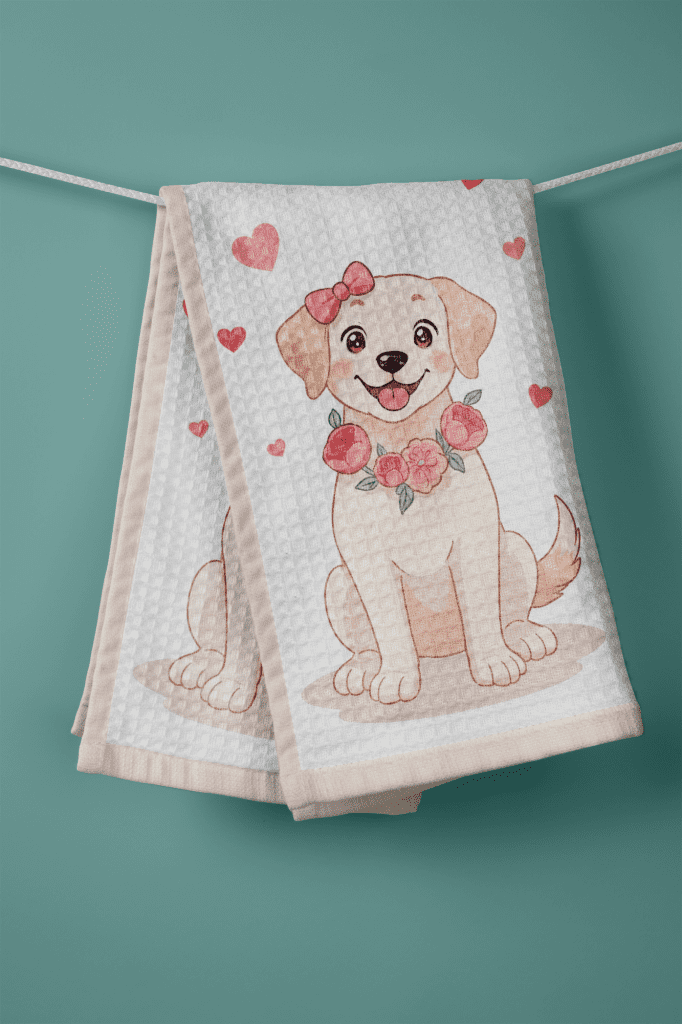
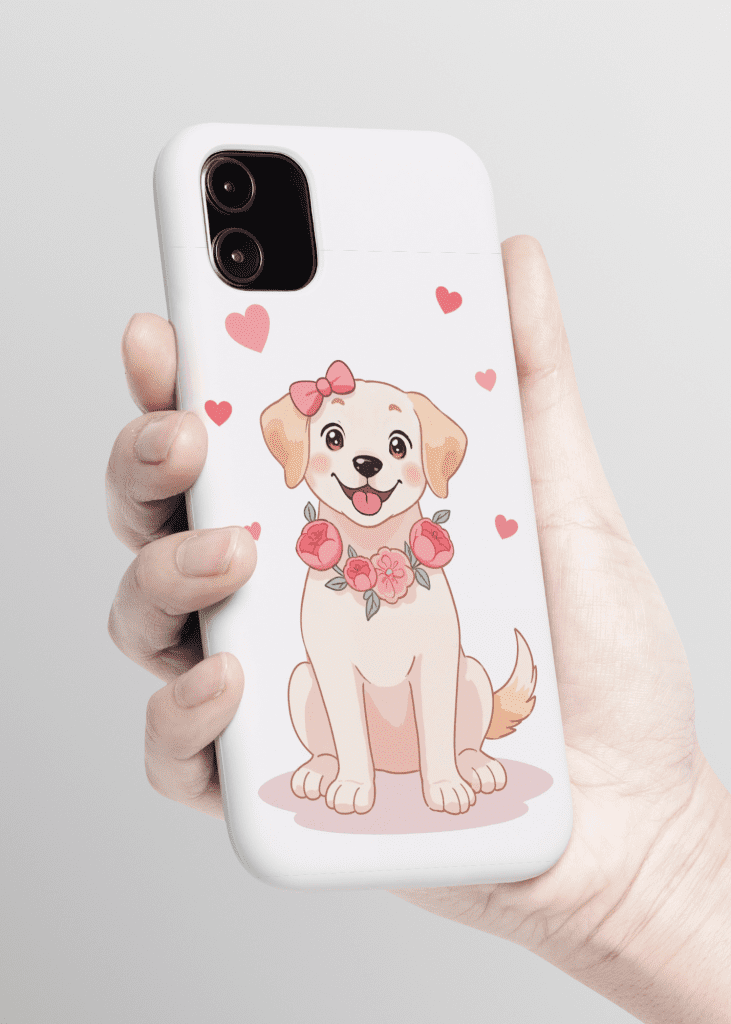
Image with Text Design:
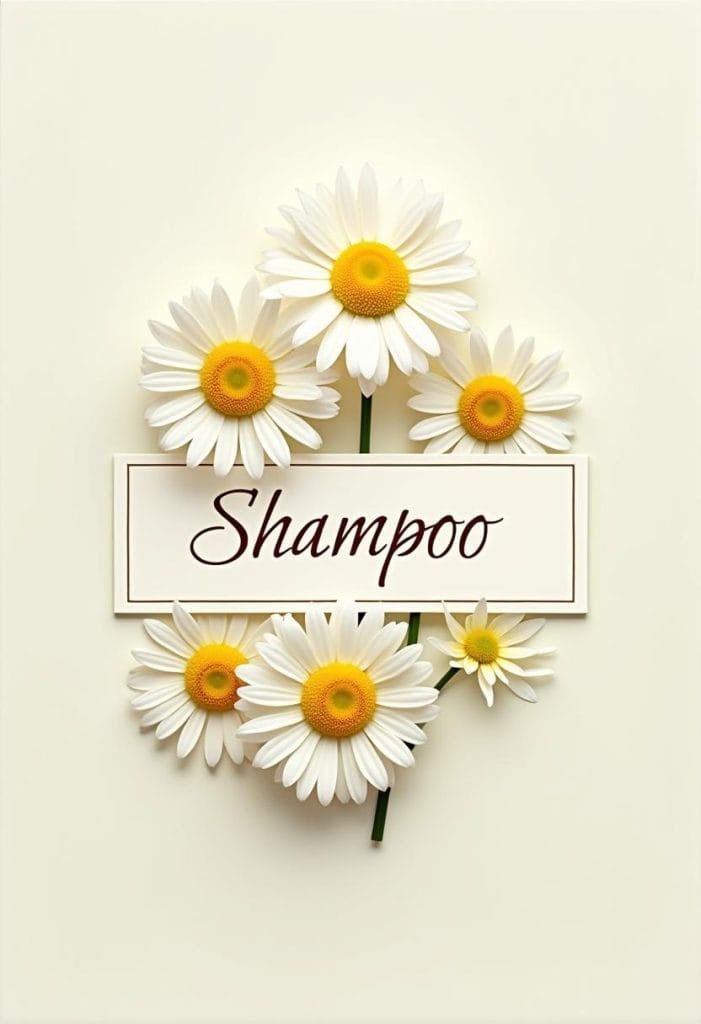
Text Prompt: Design a label featuring elegant daisies in various stages of bloom. Use a soft pastel color palette for a fresh and inviting look. Incorporate a stylish label that reads ‘Shampoo’ in an elegant font, ensuring it harmonizes with the floral elements while serving as the central focus of the logo.
Mode: Flux
Style: #photo
Effects: Auto
Size: 2:3 Portrait
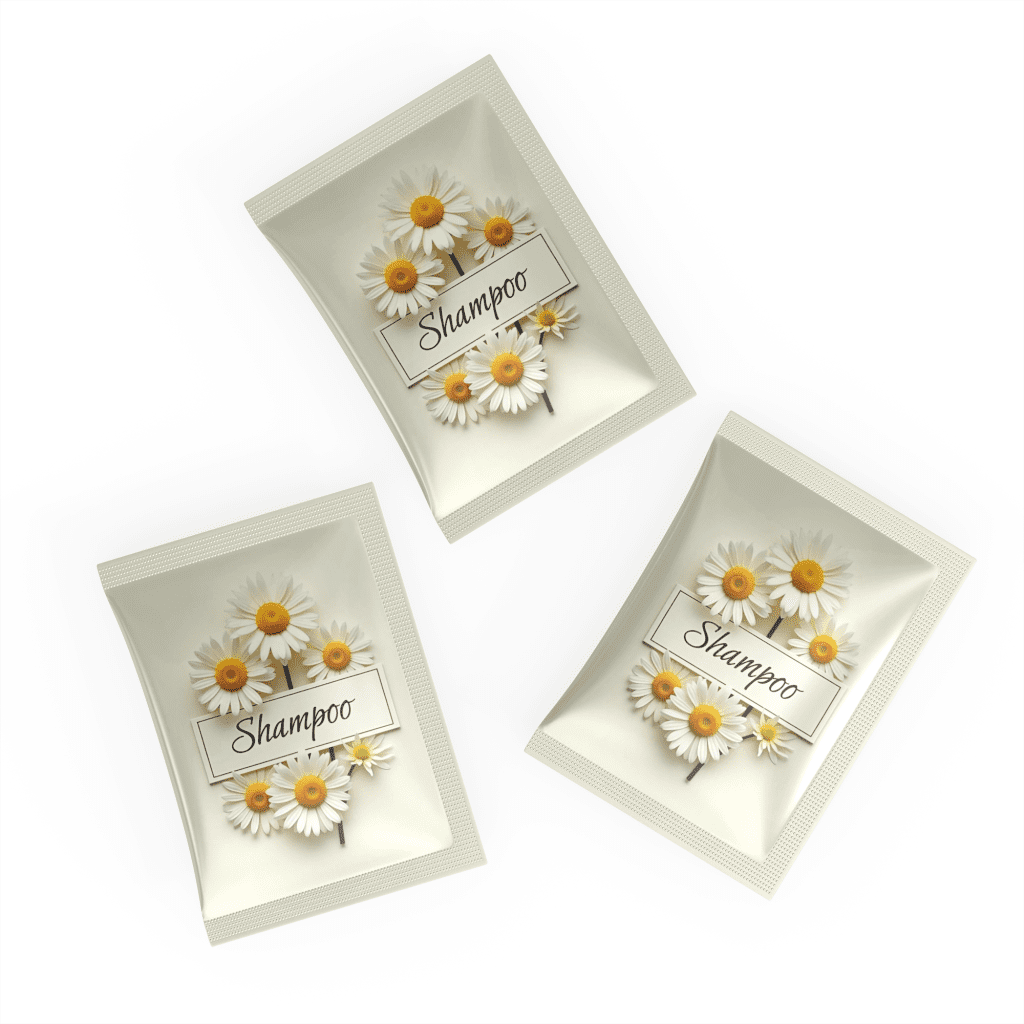
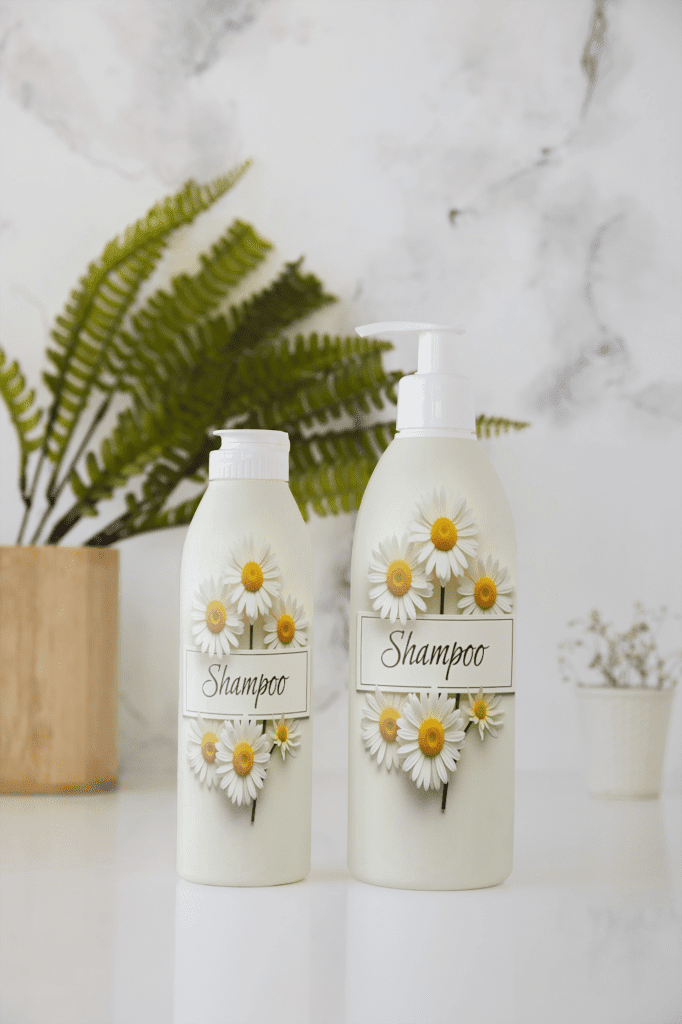
Image Colors and Texture Design
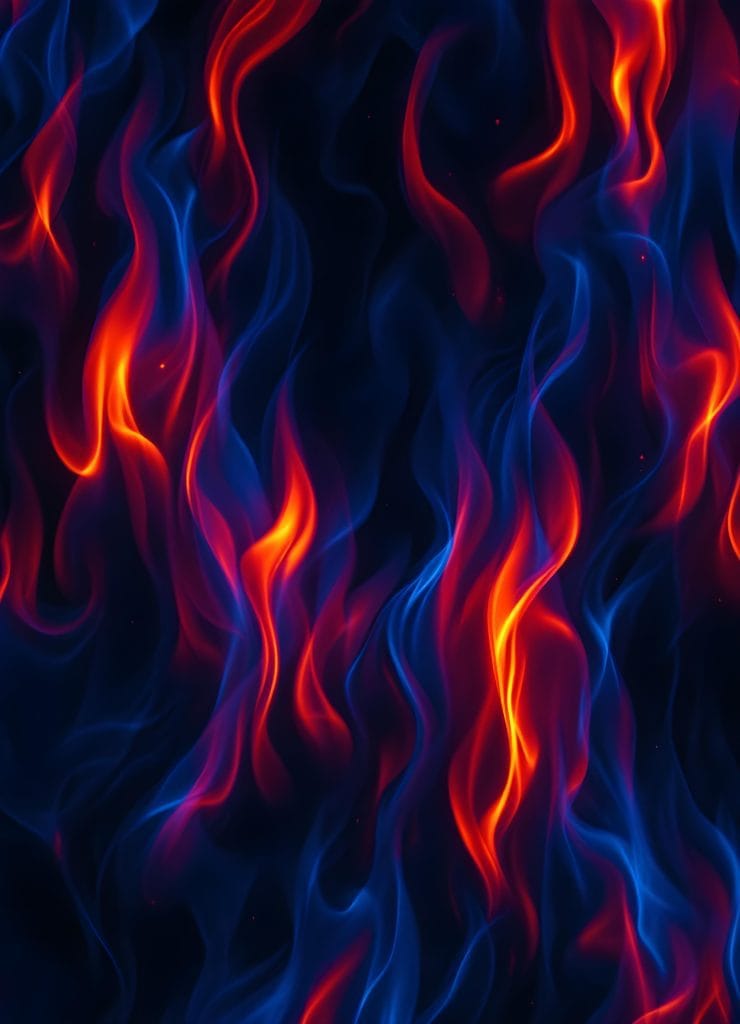
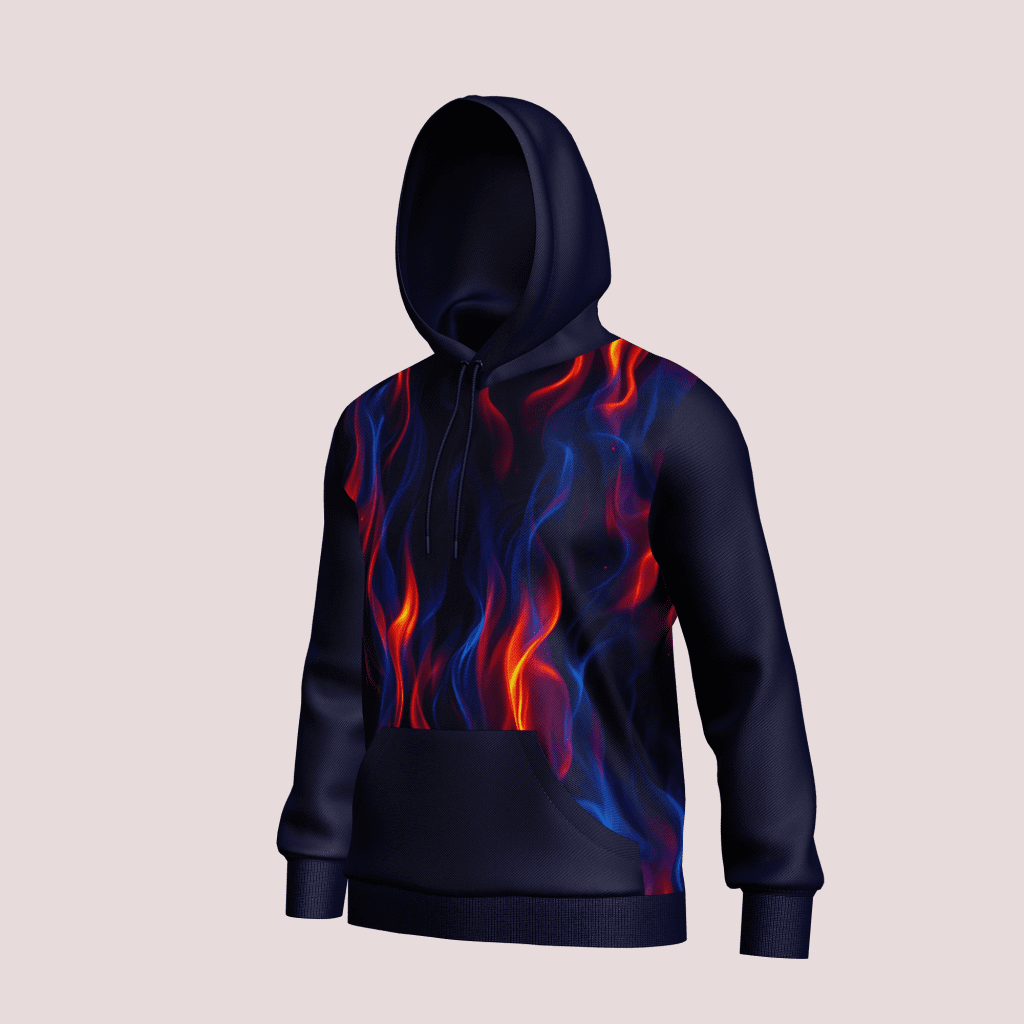
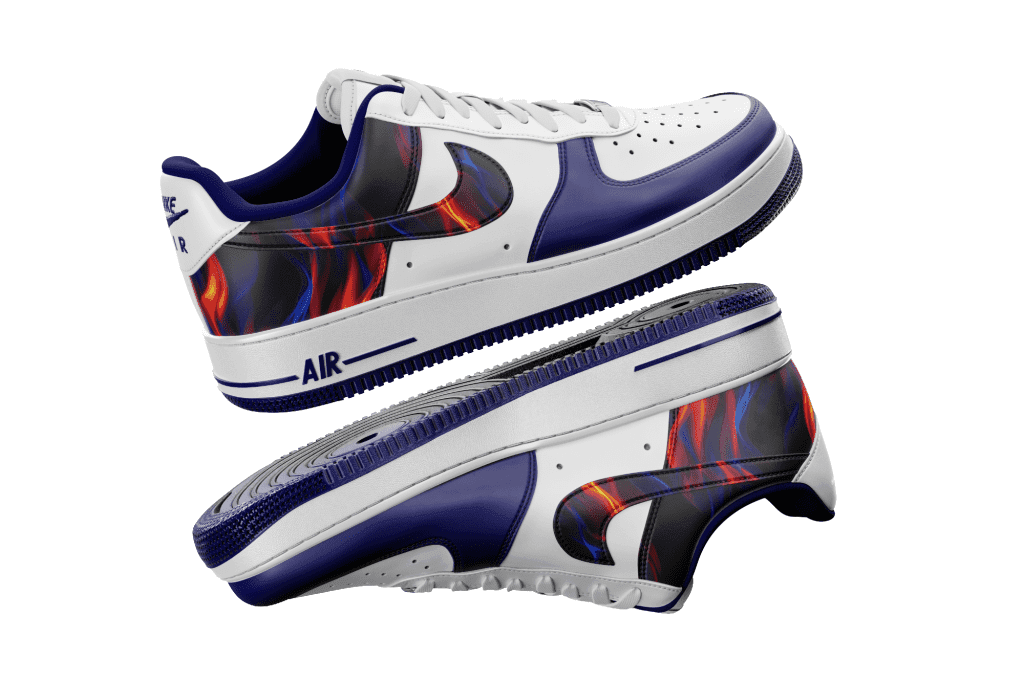
Text Prompt: Design an intense, masculine flame pattern with bold, dark blue and red colors. The flames should have sharp, dynamic shapes that convey strength and energy, creating a powerful and edgy look. Use gradients to give the depth and intensity of the flame, emphasizing a fierce, rugged style.
Mode: Flux 1.1 Pro
Style: #photo
Effects: Auto
Size: 3:4 Traditional
3D Animation Design

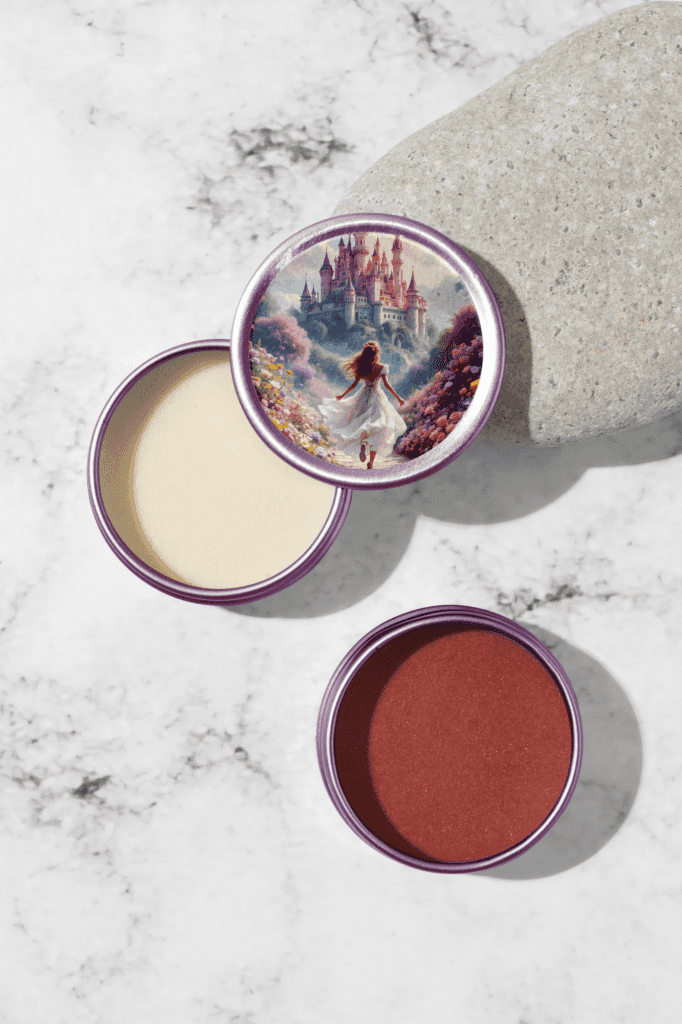
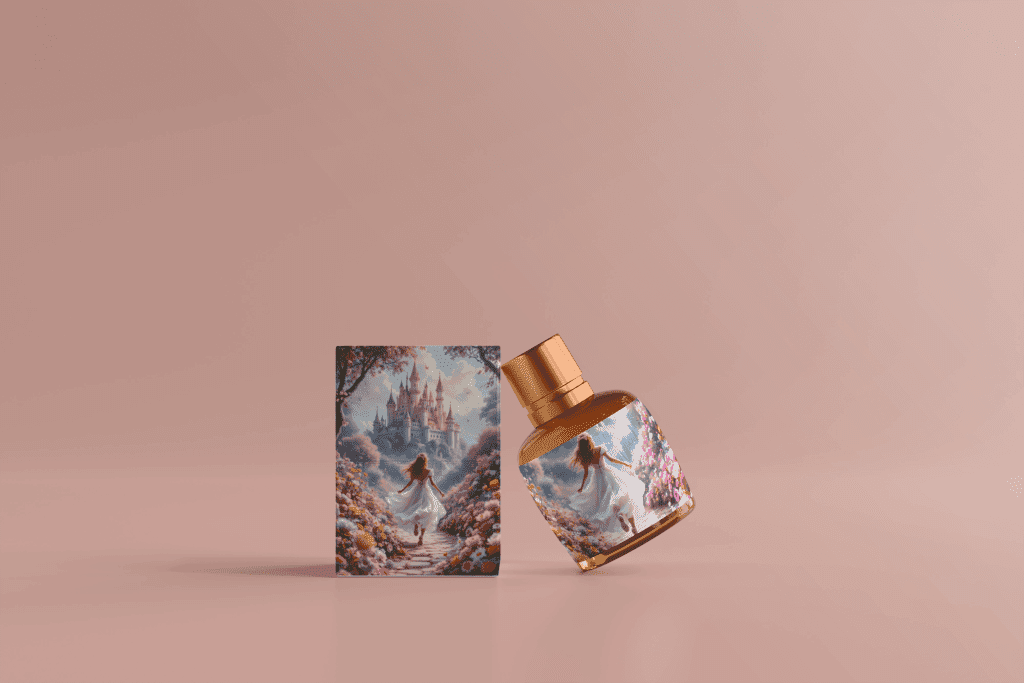
Text Prompt: Design a whimsical fairytale scene featuring a charming castle in the background. In the center, depicts a princess running away, her back to the viewer, with a bow in her hair that adds a playful touch. Surround her with a lush garden filled with vibrant flowers, using soft pastel colors to create a dreamy, romantic atmosphere that evokes a sense of enchantment and magic.
Mode: Flux 1.1 Pro
Style: #surreal
Effects: Auto
Size: 3:4 Traditional
Key Takeaways
- Start with a clear vision and detailed product design prompts for best results.
- Choose a mockup that enhances your product’s look and aligns with your brand. Carefully adjust colors, textures, and positioning within the mockup to achieve a polished, professional appearance.
- Adjust and refine your product design within the mockup for a professional look.
- Finally, review your design for clarity and impact, then export it in high resolution for a sharp, finished result.
Conclusion: Level Up Your Design Game with Freepik
Freepik’s AI Image Generator paired with its mockup library offers a powerful combination for designers and businesses. By following these steps, you can create unique, high-quality product designs that stand out. Embrace this technology to enhance your creative process and effectively present your products to the world!
Let Your Imagination Soar with Prime Outsourcing!
Are you ready to turn your ideas into amazing designs? At Prime Outsourcing, we are the creative artists you’ve been looking for! Our team utilizes Freepik’s incredible resources to craft stunning visuals that capture attention and inspire action. Say goodbye to the ordinary and hello to the extraordinary!
Dive into a World of Creativity! Connect with us today, and let’s sprinkle some design magic on your brand!
READ MORE: How Generative AI Creative Design Solutions Alter Businesses

